
A 1997 Porsche 993’s front-suspension restoration, and the point where the shop took over
samurai_k’s 1997 Coupe log follows front control-arm removal, difficult bushing extraction and cosmoline cleanup. A broken vise led to professional bushing pressing and ball-joint work; later updates move on to strut and anti-roll-bar preparation. The reported 50 mph shimmy has no confirmed resolution in this account.

Select a photo to view its source post. The source may require sign-in.
Vehicle and reported symptom
samurai_k introduces his 1997 993 Coupe as a cared-for driver and sets out a long owner upgrade and restoration log. The front control-arm chapter began after an annoying shimmy at about 50 mph on his commute. He documents the work and setbacks, without establishing a cause or confirming that this symptom disappeared.
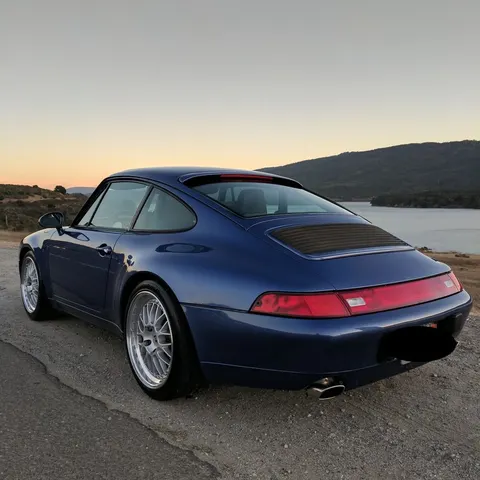
Removing the control arms
For removal, the author lists 19 mm, 18 mm and 10 mm sockets and wrenches, a breaker bar or 1/2-inch ratchet, and a ball-joint separator. He describes turning the steering rack for access, removing the plastic air deflector, separating the knuckle from the arm, removing the frame bolts and taking out the arm. This is his account, not a verified service procedure.
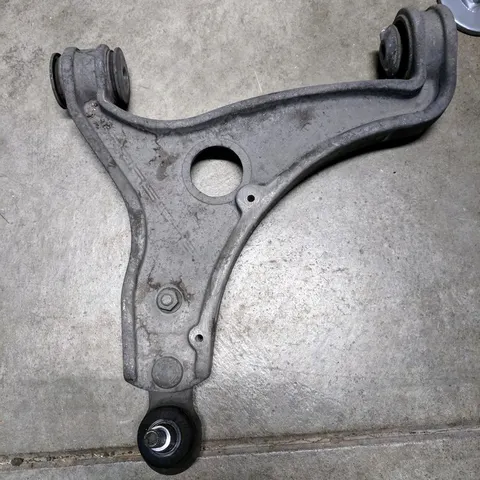
Extracting the old bushings
Removing the old bushings proved harder than the owner expected. He heated and twisted out the inner sleeves, drilled two 3/8-inch slots 90 degrees apart through the rubber, cut a section of rubber and outer sleeve, and worked it out with a chisel. He reports that drilling through the rubber and removing a quarter-section worked better for him than his first sawing attempt. This was his own experience, rather than proof that every arm should be treated the same way.
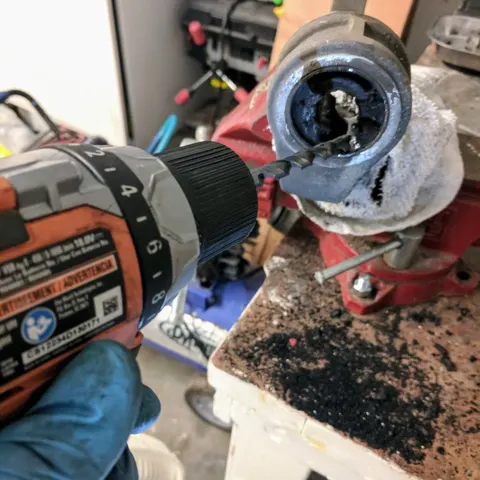
Cleaning the arms
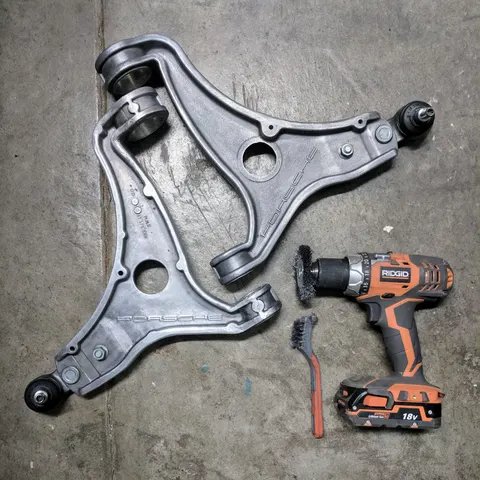
The author used a drill-mounted fine wire wheel and brushes to remove old cosmoline. He reports nylon and brass brushes were not aggressive enough for his task and says the fine wire wheel and brush worked for him.
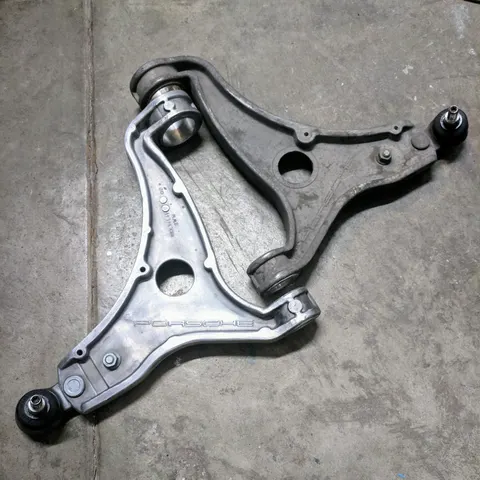
A failed vise attempt and shop follow-up
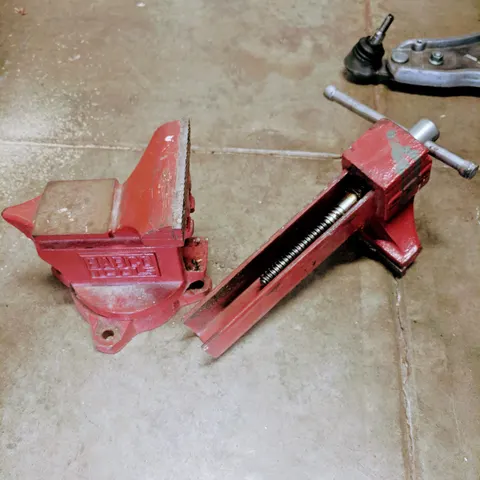
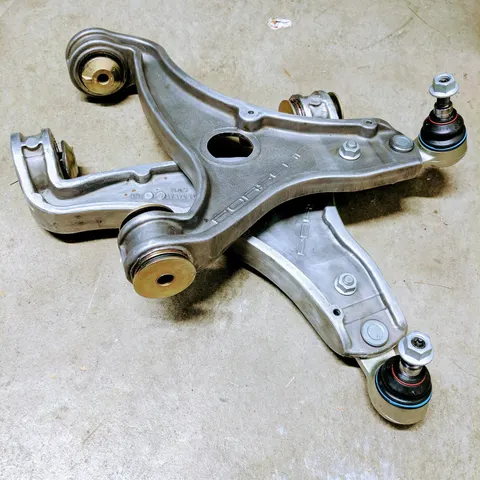
A home pressing attempt ended with a broken vise: the owner used a car-jack handle for extra leverage while trying to press in the rear bushing of a front control arm. He then paid Chuck at Elephant Racing to press the bushings and check the front ball joints and toe-arm joints. The shop fitted new Lemförder ball joints and ordered OEM toe control arms after finding problems. Those tasks belong to the shop’s work, not a successful home pressing procedure.
A separate strut and anti-roll-bar update
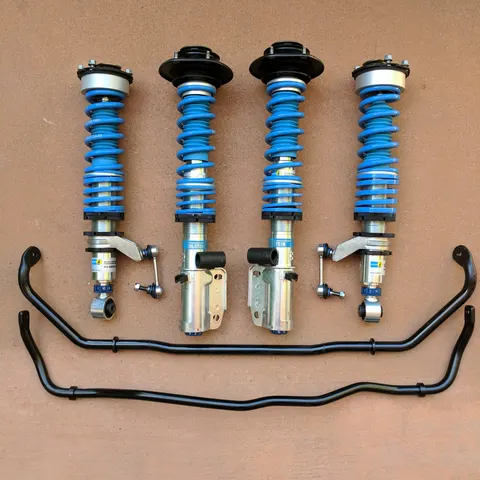
The next update moves on to strut and anti-roll-bar preparation. The owner describes improvised leverage on a top-mount fastener, cutting the original strut’s brake-line bracket to retain the connected line, removing sensor retainers and working the anti-roll-bar bushings free. He then shows the old and new assemblies and says he is ready for installation. These are modifications and work in progress in his account, not a complete installation or validated shortcut. His opening index calls the kit PSS9 while this update calls it PSS10; that naming discrepancy remains unresolved.
A separate suspension-loading comment
Tlaloc75 added that the suspension should be loaded before tightening the arms beyond finger-tight, both for bushing orientation and to keep the tab seated in its notch. He described using ramps and then lifting the rear to get weight onto the front. This is an attributed owner-to-owner note; no tightening torque is supplied here.