
Mercedes R230 side mirror removal
Kamilclk430’s door-panel and mirror removal photographs, with the original support warning and a later clarification about trim tools and older photographs.

Select a photo to view its source post. The source may require sign-in.
Access through the door panel
Kamilclk430 removed the side mirrors of an R230 SL to have them refinished in carbon fiber. His account starts with lowering the windows and removing the inner mirror triangle, the fastener behind the SRS cover and six fasteners along the silver door-edge trim. The photographs show his original marked locations, including the less visible lower fastener. He then describes releasing the panel clips and lifting the panel while its wiring remains attached. These are the author’s recorded actions, not an independently verified complete door-panel or SRS service procedure.
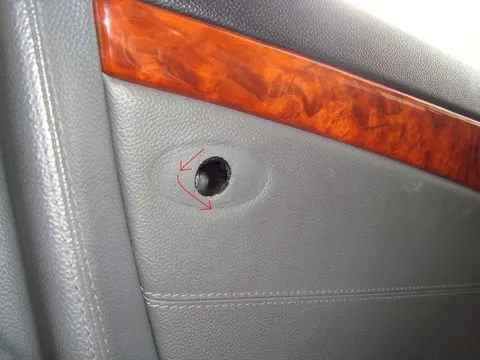
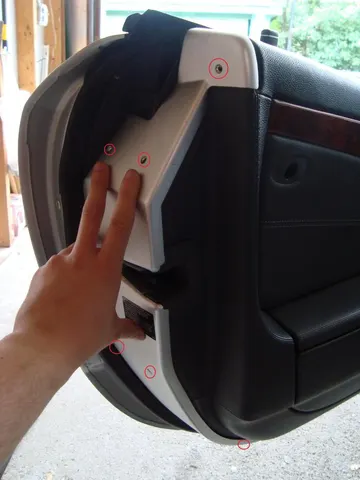
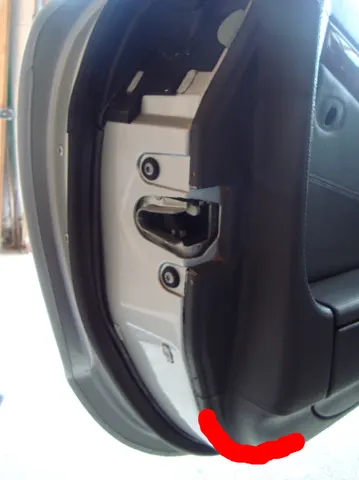
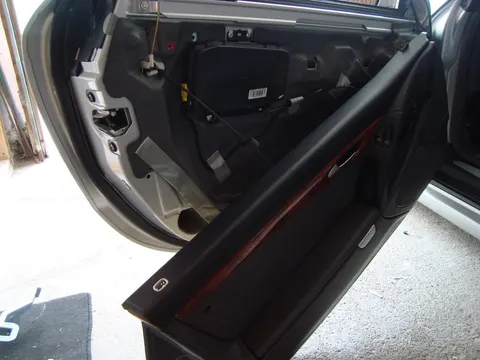
The mirror wiring and three mounting fasteners
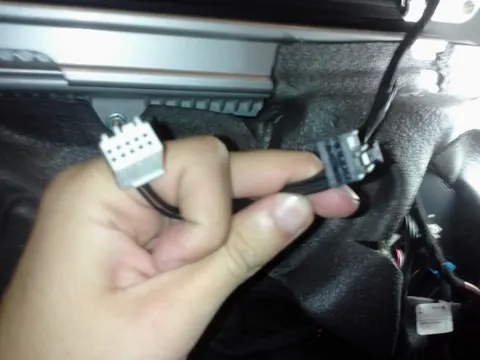
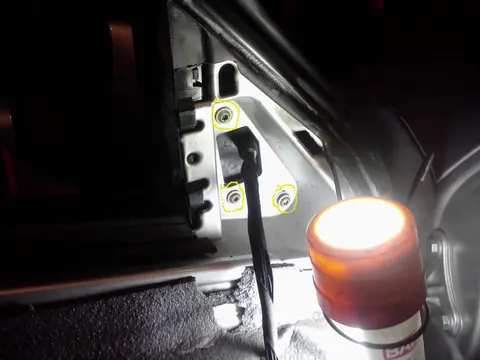
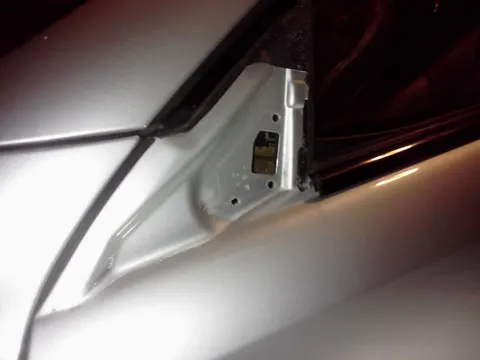
The author next unplugged the mirror wiring and removed the three mirror mounting fasteners. His warning is explicit: hold the mirror from the outside while releasing the fasteners so that the assembly cannot fall to the ground. The last photographs show the connectors, marked mounting locations and the mirror removed from the door. He reported about twenty minutes for the first side and ten for the second; those times describe his own experience. The post does not establish tightening torques or a complete reinstallation procedure.
Clip caution and the older door-trim photographs
The original post claimed that the clips would simply release without breaking. BlueSL recommended plastic trim tools to reduce marking and clip damage, and kamilclk430 agreed that a plastic pry tool was a good idea, explaining that he used his hands once a gap was open. The original assurance is not a guarantee that clips cannot break. He also clarified that the door-panel photographs came from earlier carbon-trim work; only the mirror-fastener and removed-mirror photographs were new. The daylight and night-time images therefore do not document one continuous removal session.
Removing the assembly is different from removing the glass
A later contributor asked how to remove the mirror glass after breaking it while following other advice. This thread does not provide a reviewed answer to that question. The account covers removing the mirror assembly from the door; it does not establish how to dismantle the housing or safely replace the glass or turn-signal lens. The photographed car’s exact year and trim, individual photographer and photo reuse permission remain unknown.
Source reply ↗ · euphoriaDSM