
Mercedes W204 C180 CGI engine air filter replacement
Kaewen's C180 CGI engine air filter replacement account, with all 16 work photos in source order: filter location and preparation, opening the housing, fitting the filter, cleaning and reassembly.

Select a photo to view its source post. The source may require sign-in.
The C180 CGI filter replacement account
Kaewen explains that the C180 CGI's engine layout differs from the C300, prompting this separate account. It records replacing a Mann paper filter with a K&N product on one vehicle; it does not establish compatibility with other vehicles or a measured performance gain.
Engine bay and filter location
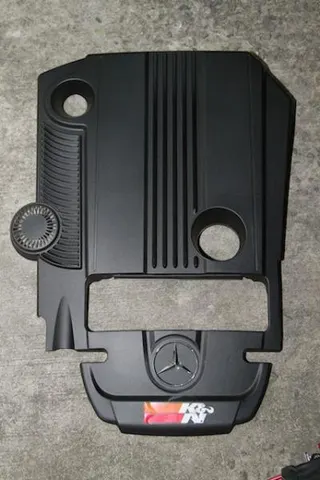
The account starts with switching off the engine and opening the bonnet, locating the intake and filter compartment, then lifting off the upper engine cover. It also separately shows the blanked-off intake position on the opposite side.
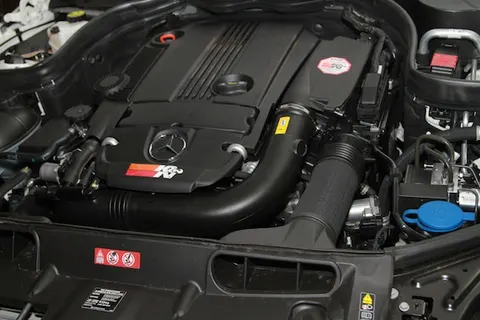
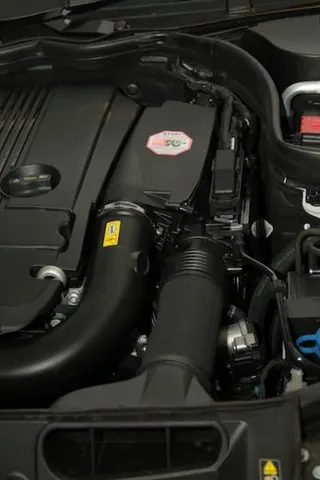
Tools and filter used
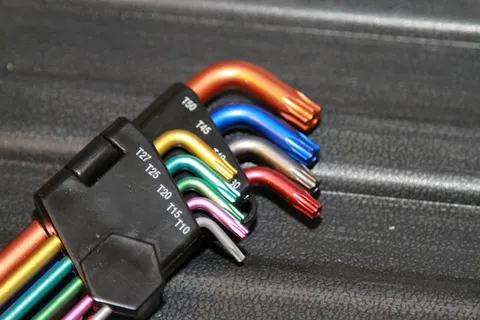
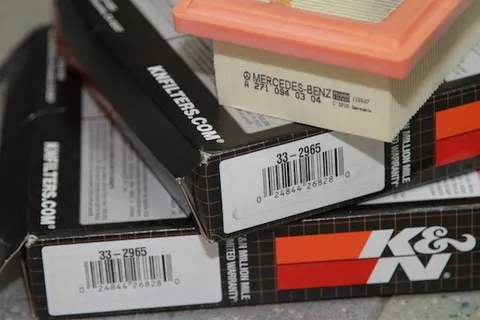
The author prepares a T25 Torx tool and one K&N 33-2965 filter. These are the items recorded for the source vehicle's replacement.
Opening the housing and fitting the filter
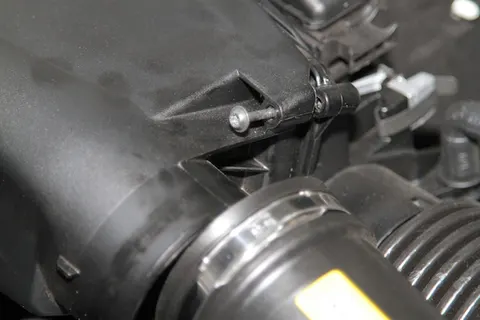
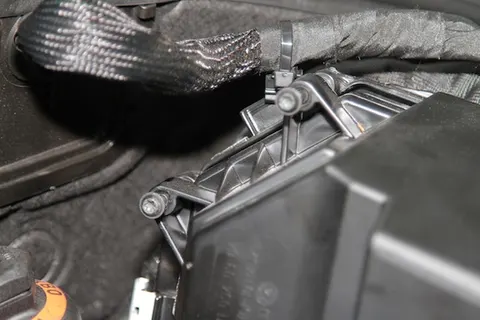
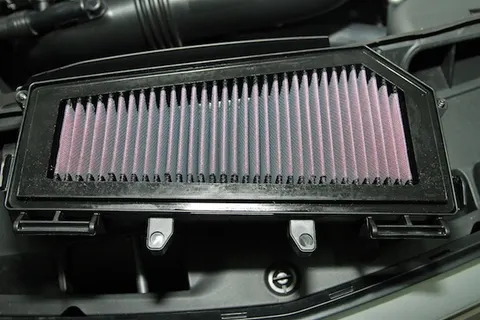
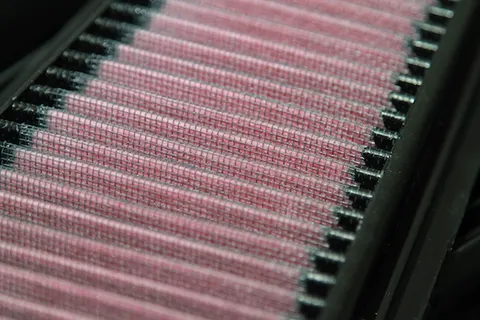
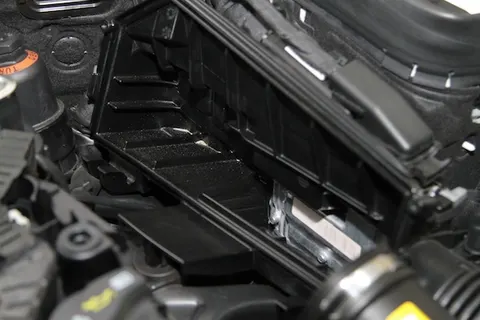
In the next post, the author shows the screw beside the hose clip and two screws at the rear. The photos then show opening and lifting the filter compartment, its lower hinge arrangement and the replacement filter fitted in place.
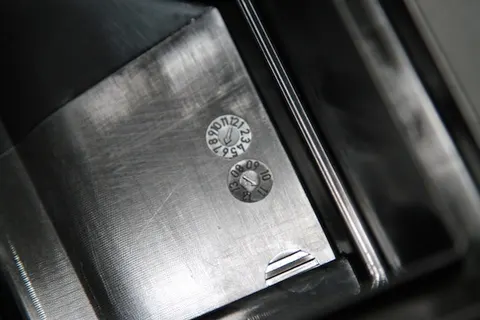
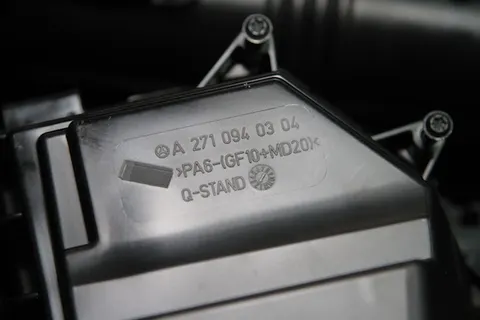
Markings on the cover
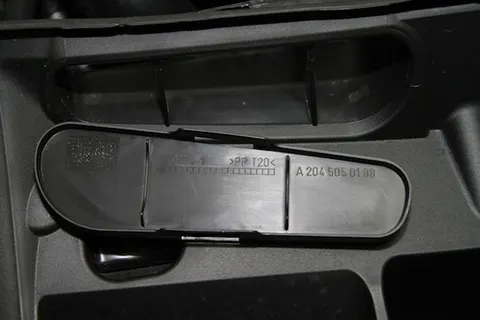
The filter installation photos are followed by the cover's manufacturing-date marking and the filter-housing part-number marking.
Cleaning sand from the housing
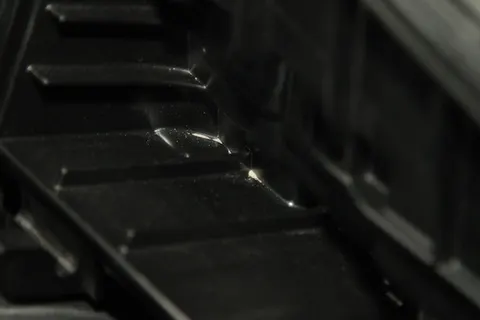
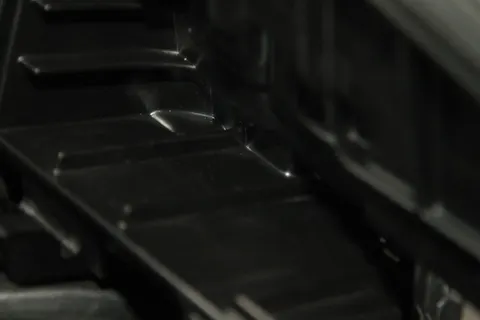
The author records sand inside their filter compartment, showing an overview and a close-up before showing the area after vacuuming it clean.
Reassembly and engine cover supports
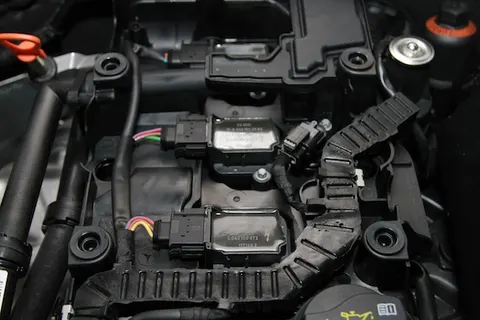
The account ends by refitting the filter and closing everything in reverse order. The final photo shows the four rubber supports that hold the engine cover.
Reply: a later replacement and the old filter’s condition
slimty66 reports using these photos to replace the filter on a recently acquired W204. They describe the old filter as black and full of debris and ask whether it might have remained unchanged for 37,000 miles. They also report a subjective improvement in response and smoothness; the comment does not confirm the service history or isolate the effect of changing filter brands.
Replies: whether to remove the engine cover
Knightmare69 reports removing the filter without taking off the engine cover during their own service. Kaewen agrees that this is possible but says removing the cover made extracting the filter box easier for them. Cover removal is the approach used in the original account.
Source reply ↗ · Knightmare69
Source reply ↗ · Kaewen