
1997 Porsche 993 C2 steering-rack and front-suspension refresh
squidge refreshed the engine mounts, steering rack, control arms and tie rods on a recently acquired 1997 six-speed C2. The account follows a difficult bushing attempt, tie-rod clearance problems, and a return to the road with no rack leak reported at that point.

Select a photo to view its source post. The source may require sign-in.
A gradual refresh of a recently acquired C2
squidge bought the original, six-speed manual 1997 C2 coupe in September 2016 with 65,500 miles. The pre-purchase inspection identified leaking power steering, old tires and brakes, tired dampers, and a squeaking alternator with wobbly pulleys. The aim was a gradual refresh with minor upgrades; the original secondary-air system was reported problem-free at that point.
RS mounts and restricted access
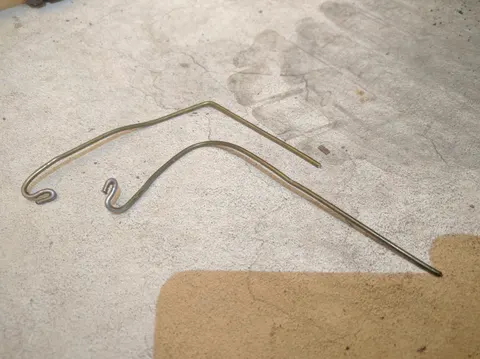
The owner installed RS engine mounts and found a right-angle pick more useful than a straight screwdriver for the lower covers, particularly near the passenger-side oxygen sensors. The shorter threaded mount studs required raising the supported engine farther than expected. Although the old mounts looked sound, the owner could deflect their bolts by hand and described the replacements as much stiffer. A driving impression was still pending completion of the steering-rack and control-arm work.
A rack rebuild with one seal left in place
squidge removed the steering rack and used a KLA seal kit. The rack had a two-hole input-shaft housing that differed from the instructions being followed. The owner chose not to replace the seal above the input-shaft bearing. Picks and a small screwdriver helped remove the circlip; needle-nose locking pliers and a straight screwdriver helped refit it. Plastic wrap worked for the square rings. A clamp and socket pressed out a stubborn cup seal, which then had to be cut off the socket.
Control-arm bushings and new tie rods
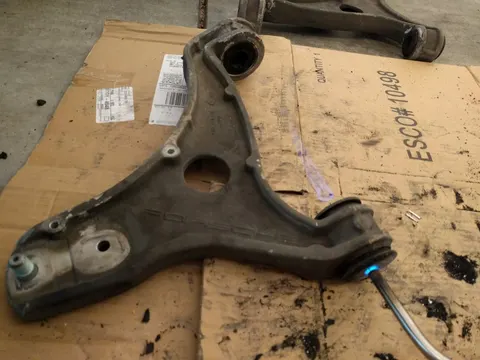
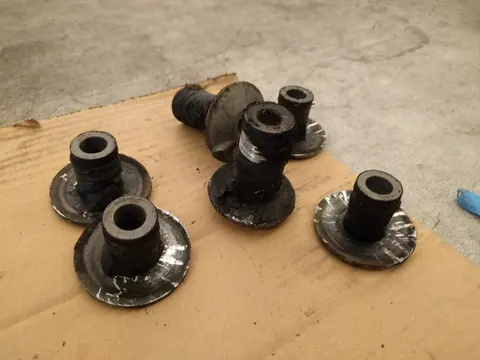
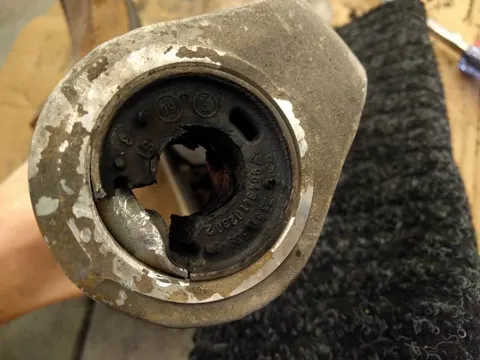
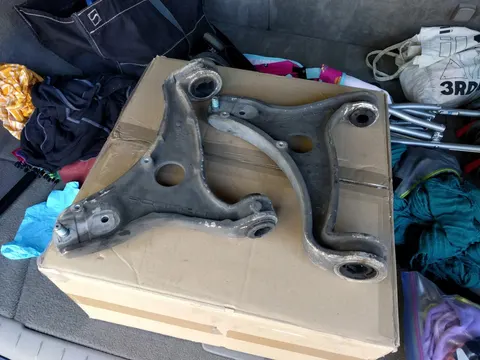
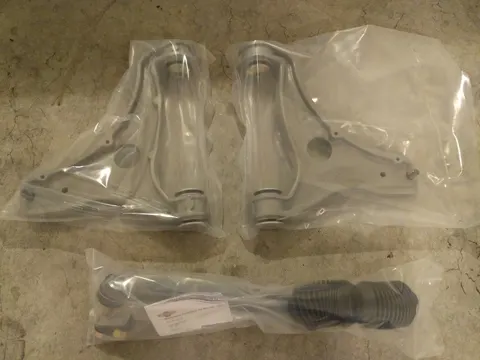
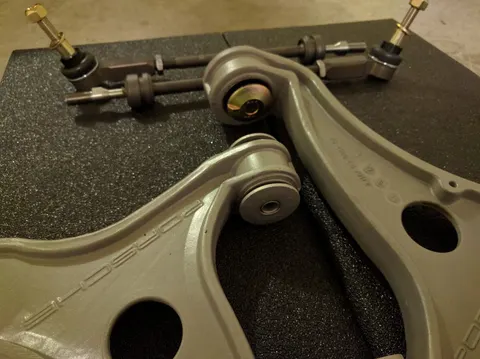
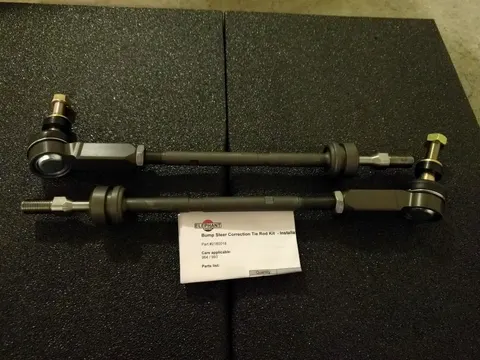
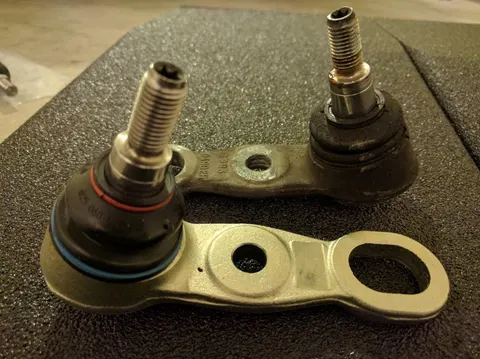
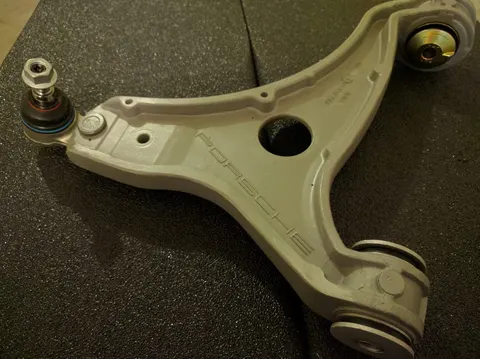
After refitting the steering rack, squidge removed the control arms and attempted a Walrod bushing installation. Removing the sleeves took roughly 90 minutes, and the owner found the remaining work impractical without a bench vise in the rented garage. The plan changed to having Elephant refurbish the arms with sport rubber bushings. The owner then prepared the arms with new Lemfoerder ball joints and air deflectors, and set the length of the new adjustable bump-steer tie rods.
Long studs and limited clearance at the strut
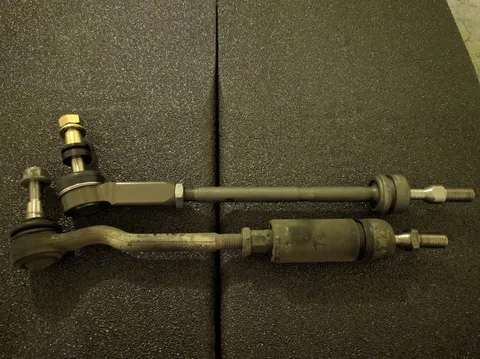
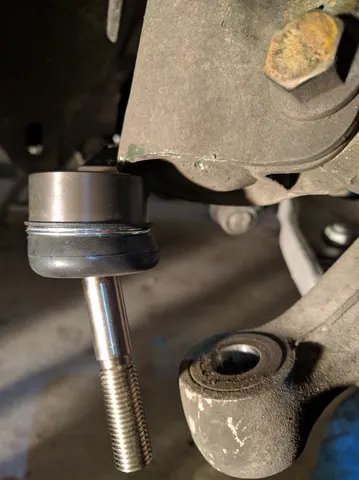
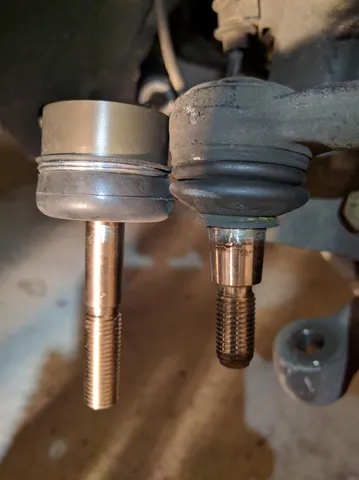
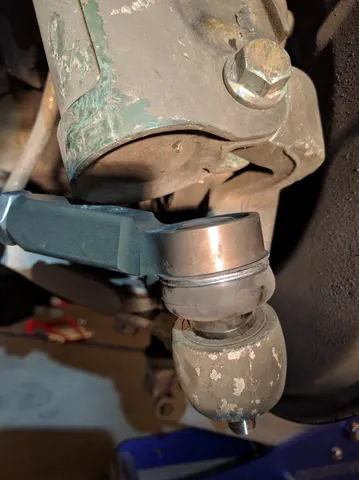
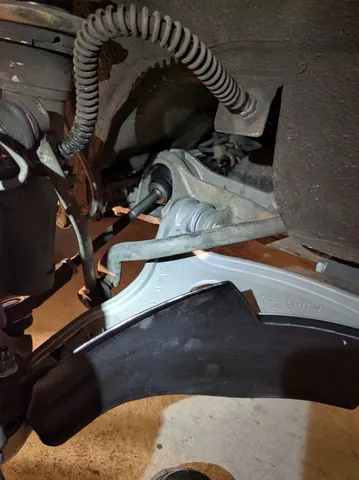
The tie-rod ball-joint studs were about three-quarters of an inch longer than the originals, according to squidge. Fitting them required separating the strut from the wheel carrier. With both adjustment spacers above the knuckle, the tie rod contacted the standard strut throughout movement. Moving the one-eighth-inch spacer below the knuckle produced only slight clearance. The owner planned to discuss these fit issues with the supplier; compatibility with a future coilover setup was not established in that update.
Back on the road after refitting and alignment
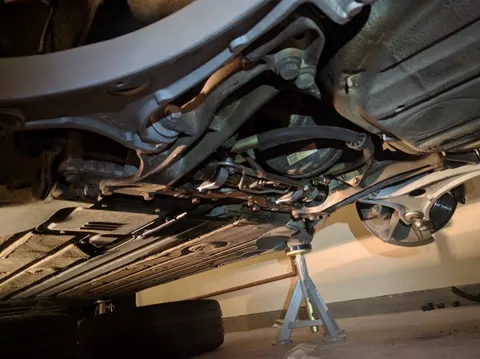
In the next update, squidge reported completing the tie-rod installation and finding a little more clearance with the car on the ground. After a basic front alignment, the owner reported no steering-rack leak so far and said a 60 mph steering-wheel shimmy had disappeared. Steering response and feedback felt better, and the RS engine mounts made the car feel more rumbly and alive. Several steering and suspension components had changed together, so this account does not isolate a single cause or establish long-term durability.
A visible leak without an obvious driving symptom
Asked what prompted the rack rebuild, squidge said the leak had been obvious from a quick look beneath the car, but its duration before purchase was unknown. The owner later clarified that driving had not felt different while adequate fluid remained. That describes this car’s experience and does not establish that a leaking steering system is safe to ignore.
Two accounts of clearing the air-conditioning lines
When P-daddy asked about extracting the driver-side mount beneath the air-conditioning lines, Quadcammer described lowering the engine until the stud cleared the carrier, then tilting the mount out. squidge reported a different approach: releasing the line clamps and rubber insulators so the lines could move independently. The owner recalled drawing the mount between the two lines; these are attributed experiences rather than a single verified procedure.
Source reply ↗ · P-daddy
Source reply ↗ · Quadcammer
Source reply ↗ · squidge