
2009 Porsche 997.2 S coolant-pipe replacement
Dr.H documented difficult housing refitting during coolant-pipe leak work, then reported completing installation and vacuum refilling.

Select a photo to view its source post. The source may require sign-in.
A leak between the water pump and thermostat housing
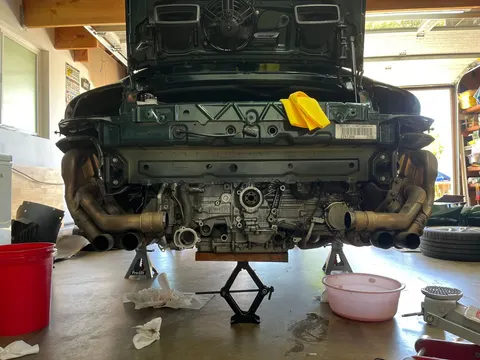
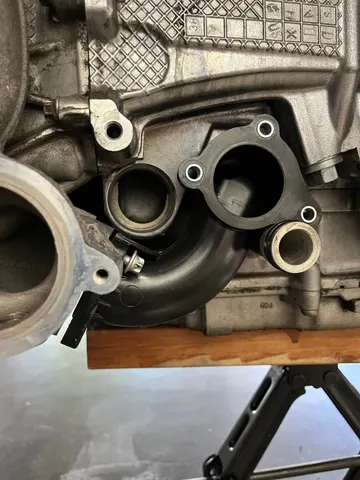
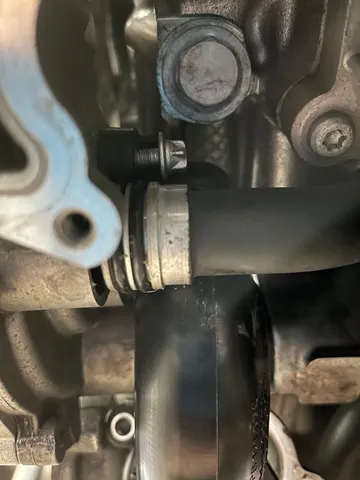
Dr.H described a leak around the pipe between the water pump and thermostat housing on his 2009 997.2 S. After removing the housing he found dirt around the O-rings. He had purchased a new pipe, O-rings and water pump, but could not return the housing to its installed position.
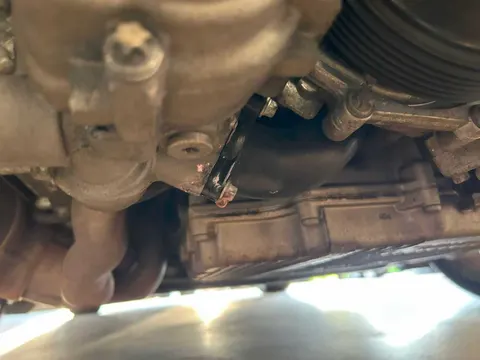
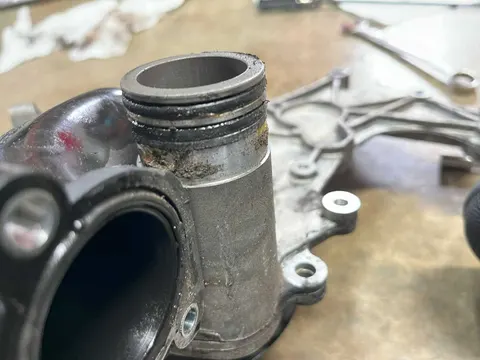
Removal did not translate into straightforward refitting
The author had removed a thermostat housing but still could not fit the assembly back. His photographs show the exposed housing area before cleaning.
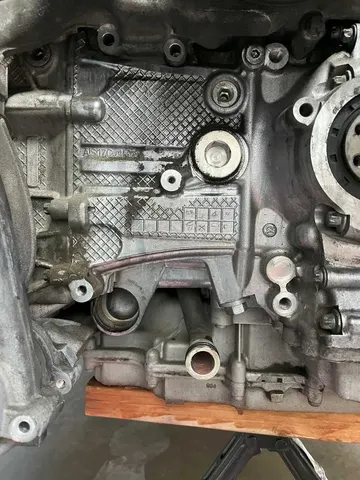
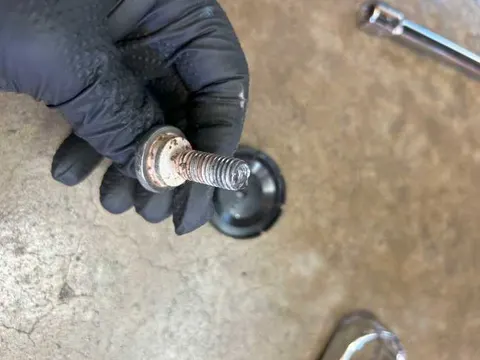
A stuck tensioner bolt was a separate obstacle
The original post also records other work in progress, including a third radiator and screens. Dr.H said a tensioner-pulley bolt was stuck, that he drilled it out, and that he still needed a replacement bolt.
Further attempts still left the housing out
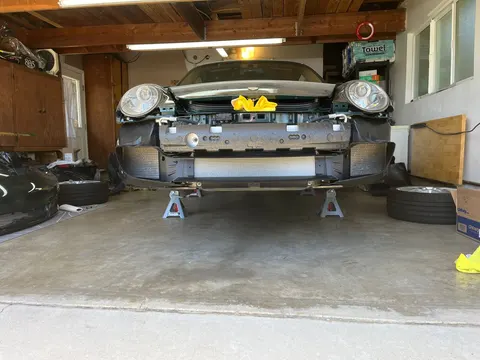
In follow-ups Dr.H reported lowering the engine for clearance and spending further hours trying to reinstall the assembly. He said lubricant had already been applied. An attempt to use the engine carrier to hold the bracket did not provide access to the rear screws; the thermostat still obstructed the path. By April 28 he intended to contact workshops. His later page 1 reply says he had bought a coolant-pipe clamping upgrade but had not installed it because the pump was still out.
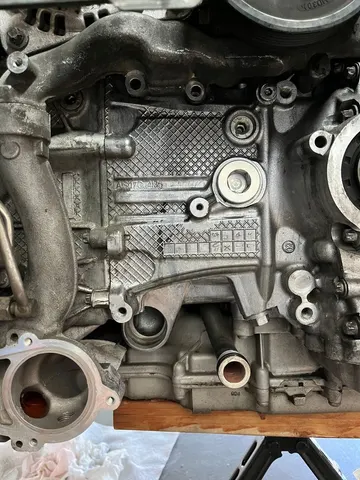
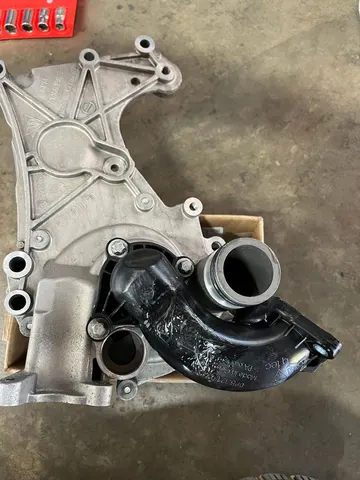
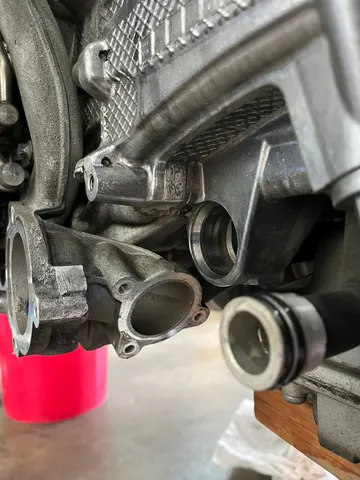
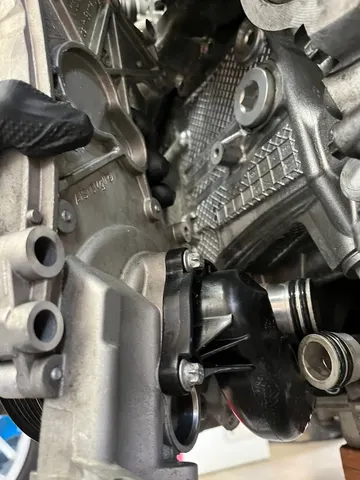
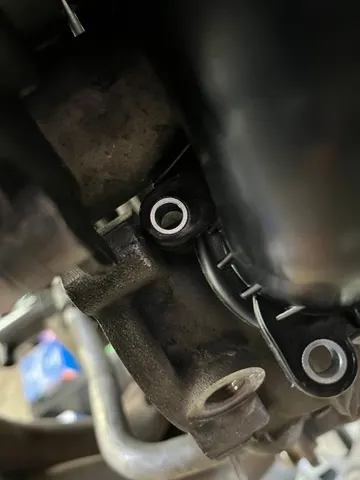
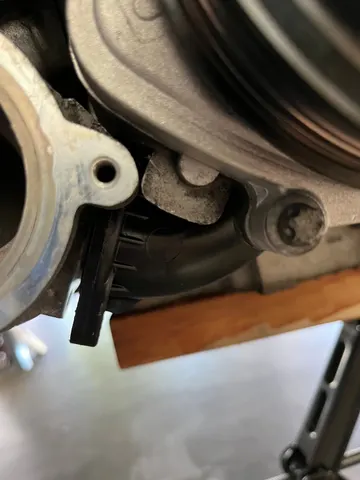
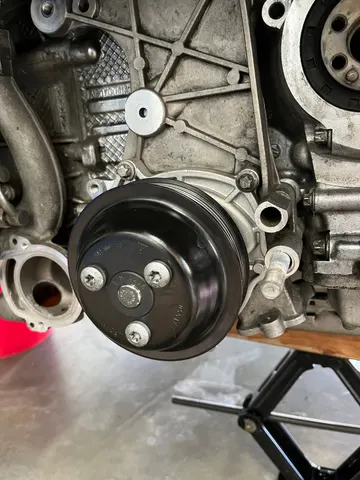
Refitting after changing access and the approach angle
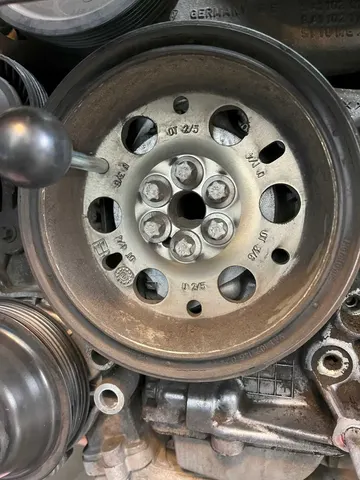
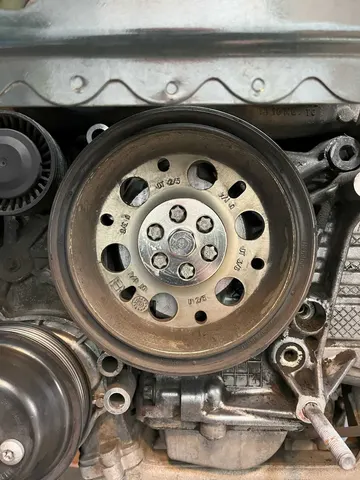
On May 10 Dr.H still had not refitted the housing and was considering loosening the black coolant-pipe fixings. The next day he reported that the housing went into place after he removed the power-steering pump pulley. In his final summary he thought an approach from below and upward, rather than straight in, and the extra space from removing the pulley had helped. This is his work sequence, without an isolated test of either change.
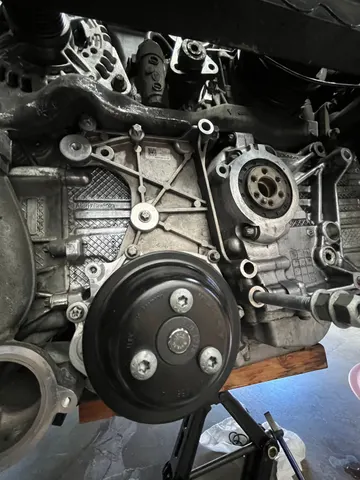
Tools and replacement parts added during the work
Dr.H bought a kit containing the tools for the vibration-damper pulley work. The seized tensioner bolt led to a replacement bracket. After removing the power-steering pulley he found it had been chipped and ordered another.
Vacuum refilling and the reported first start
On May 25 Dr.H reported the project finished. He said the system held vacuum, refilled without difficulty and started without a problem. His parallel third-radiator and screen work included resolving interference while refitting the front bumper. He also described delays from incorrect O-ring quantities or selections. This establishes his reported completion at that time, without a documented long-term leak follow-up.
A separate report about retainer fit
Gerald Prive said he had fitted an aluminum brace as a stopgap but that it would not fit the new plastic pipe he received because of added gussets. Dr.H replied that he had bought the brace but had not tried it. This is a reply about those parts, not a universal fitment claim for every replacement pipe.
A separate owner reported a short-term leak result
tuxkilla described a similar original leak on another 2009 car at about 90,000 miles and said a clamping upgrade had stopped it for the time being. That separate report does not establish how Dr.H’s housing was eventually reinstalled or whether his repair succeeded. Other replies proposed lubrication, assembly-angle and old-versus-new part checks; those remained suggestions in those replies.
Source reply ↗ · tuxkilla
Source reply ↗ · Bruce In Philly
Source reply ↗ · Avenger6
Source reply ↗ · B911L