
Porsche leather seat re-dyeing
Rdelvalle re-dyes seats after cleaning lifts the old dye, matching a leather sample and describing preparation and sponge application. While the seats are out, he also works on their switches and screw-drive bushings.

Select a photo to view its source post. The source may require sign-in.
Cleaning exposes the leather beneath the dye
While cleaning, Rdelvalle found that dye came off the driver’s seat cushion and exposed the leather beneath. He decided to re-dye both seats himself after looking for a local service. His account was posted in Rennlist’s 993 forum, but it does not identify the exact car or model year. The work shown concerns the seats, not a compatibility claim for every Porsche interior.
Matching a sample from the rear seat
The owner chose LRC products and sent the company a roughly one-inch square of leather from a lower rear seat for color matching. Asked about the shade, he said he believed it was classic grey. He described the match as close to the less-faded rear seats. That is his tentative color identification and visual comparison, rather than a confirmed factory color code.
Removing the old dye and preparing the surface
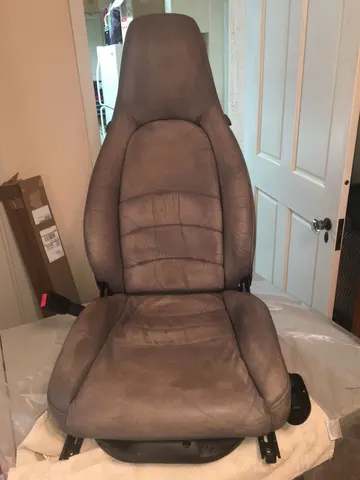
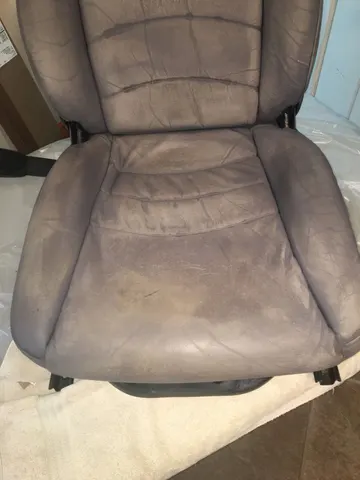
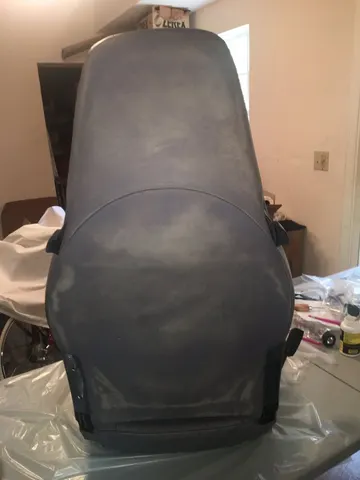
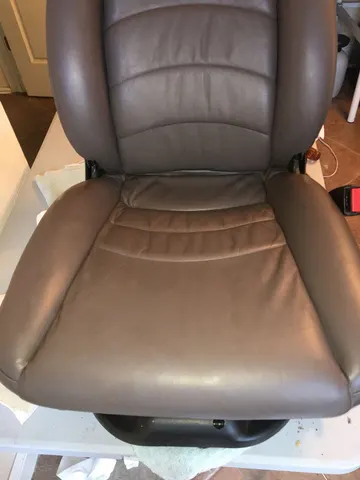
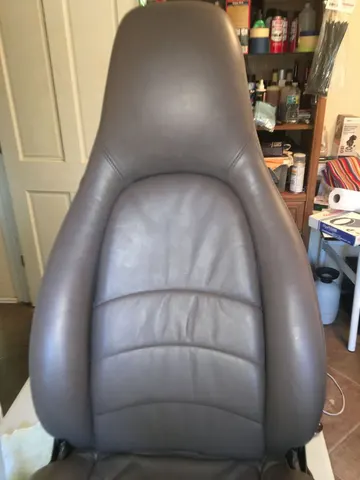
Rdelvalle lists old-dye removal, leather softening cream, fiber binder, flexible crack repair, dye and lacquer finish as his sequence. In his later explanation, removing the old dye was the hardest part: he sprayed the remover, worked it with a scuff pad, wiped the surface and repeated. The first three photographs are labeled in the source as the seat after the original dye was removed. His list does not specify every drying interval, mixture or product instruction.
Sponge application and the finished seats
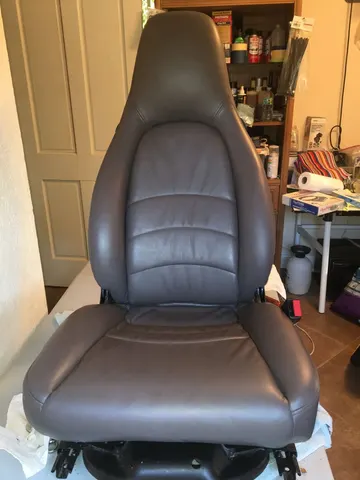
The owner says he applied the fiber binder, dye and lacquer with a sponge. He wiped on the first dye coat, dabbed subsequent coats, and used about three coats of dye. The lacquer was applied in a similar way. His next three photographs show the finished seats. They document the appearance he achieved; the account does not provide a measured color comparison or a long-term wear result.
Switches and screw-drive bushings while the seats are out
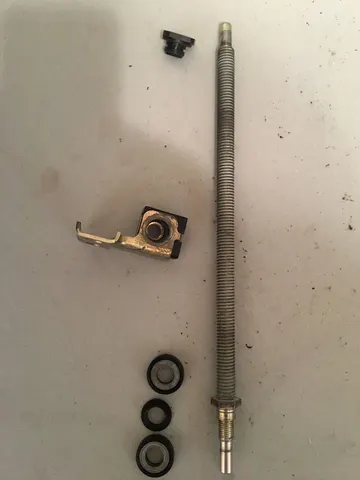
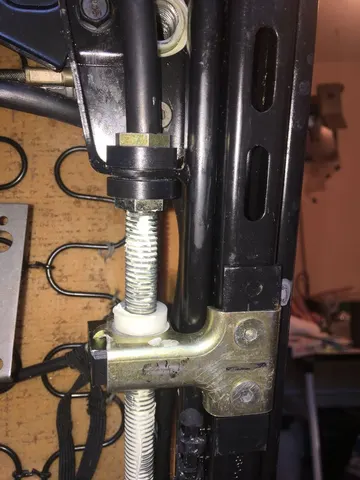
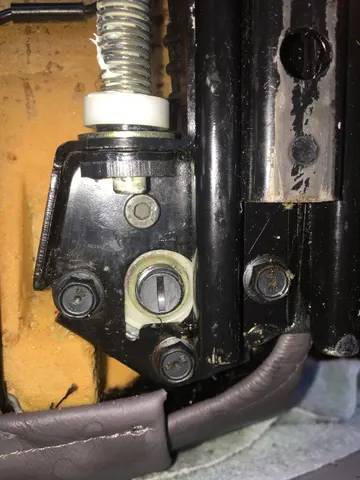
With the seats removed for dyeing, Rdelvalle also restored the seat-control switches and replaced the plastic bushings in the screw-drive mechanism. He obtained the bushings from forum member Luisvelosa. The final three photographs show parts and installed bushings. He expressly leaves the mechanical repair details to other write-ups, so these photographs are not a complete disassembly or adjustment procedure.
The steering wheel remains a separate next project
Rdelvalle planned to work on the more faded steering wheel and the airbag next so they would match the seats. In the same discussion he floated lacquer thinner as a possible substitute for dye remover, but said he would try it later and report back. That was an untested proposal, not part of the demonstrated seat work or a validated substitute.